
At a glance
Making sea moss gel involves cleaning and soaking dried moss, then completing the cooking, blending and cooling steps for the product you have. Start with the directions on your pack: the amount of water, soaking time and cooking method can vary.
This guide explains the general process. It does not replace a product-specific recipe. Ready-made gel is already prepared, while powder has its own mixing directions. Compare the formats if you are deciding which to choose.
What you need
- Dried sea moss, using the quantity specified in its preparation instructions.
- Cold drinking water for rinsing and soaking.
- Fresh drinking water for cooking and blending, in the amount specified for your product.
- A clean bowl, sieve, saucepan and suitable blending equipment.
- Small, shallow food-safe containers suitable for cooling the prepared gel.
Read the full method on your pack before starting. If quantities, soaking or cooking instructions are missing, contact our team rather than guessing.
1. Inspect and rinse
Wash your hands and clean the equipment and work surface. Inspect the dried moss and remove visible sand, shells and foreign material. Rinse under cold drinking water, gently separating the fronds so trapped particles wash away.
Continue until no loose debris is visible between the fronds and the rinse water is largely clear and free of particles. This checks visible cleanliness; it does not replace cooking. Our cleaning guide explains this stage in more detail.
2. Soak under refrigeration
Put the rinsed moss in a clean, covered food-safe bowl with enough cold drinking water to keep it submerged. Leave room for expansion. Keep the bowl in a fridge at 0–5°C and follow the soaking time on your pack.
Drain and discard the soaking water, then rinse briefly with fresh drinking water. Soaking is a preparation step, rather than a substitute for the cooking instructions.
3. Follow the cooking method for your product
Transfer the hydrated moss to a saucepan with fresh drinking water, using the quantity in your product’s recipe. Follow its cooking time and temperature instructions, stirring as directed to prevent sticking.
Use a method intended for the dried moss you have. Do not assume that a recipe for a different seaweed, powder or ready-made gel will give the same result.
4. Blend using suitable equipment
Follow your recipe’s sequence for blending and any further heating. Use equipment suitable for the temperature of the mixture, following the manufacturer’s instructions. Never blend hot liquid in a sealed smoothie cup.
Blend to the consistency specified in your recipe. If more water is needed, follow that recipe’s directions rather than making unmeasured additions after preparation.
5. Cool promptly and refrigerate
Divide the prepared mixture into small, shallow food-safe containers suitable for warm food. Cool promptly and put it in the fridge within 1–2 hours of cooking. Keep refrigerated at 0–5°C. Do not leave a large jar on the worktop overnight to set.
The texture develops as the mixture cools. Follow the setting instructions for your recipe; thickness alone does not show whether a gel has been prepared safely.
How long can you keep homemade sea moss gel?
Use the storage instructions supplied with the preparation method for your dried moss. A ready-made Millie’s Moss jar’s date does not apply to homemade gel, and opening or preparing a product does not give it a universal storage period.
If your preparation instructions do not give a storage limit, ask our team before keeping the gel for later use. We do not recommend applying another seller’s fridge or freezer duration to a different recipe.
What about lime, flavourings and serving amounts?
Follow the ingredients in your chosen preparation method. Citrus can add flavour, but should not be used to assume that a gel will keep longer. Added fruit, honey or other ingredients can change its storage requirements.
Use the serving guidance for your product. Homemade gel can vary in concentration, so do not assume that a spoonful is equivalent to a spoonful of ready-made gel or a serving of powder.
Prefer to skip the preparation?
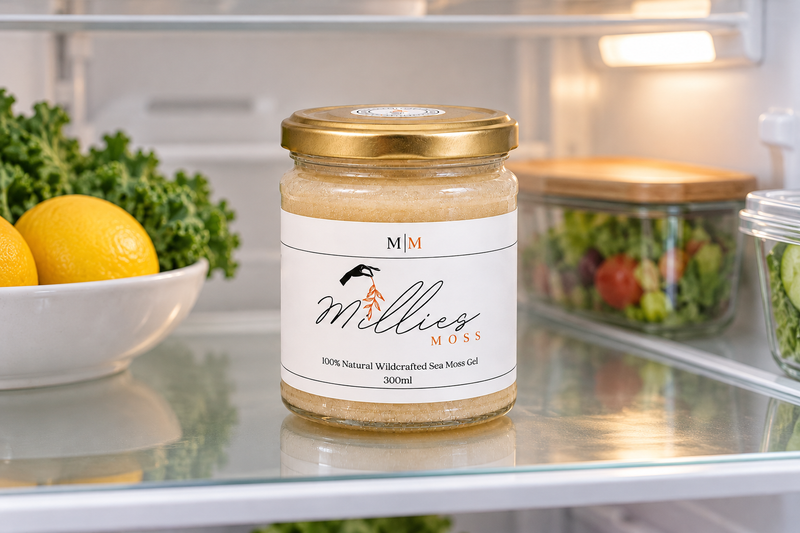
Ready-made gel is ready to spoon into food or drinks. Follow the directions on your jar and our Storage & Freshness Help page.